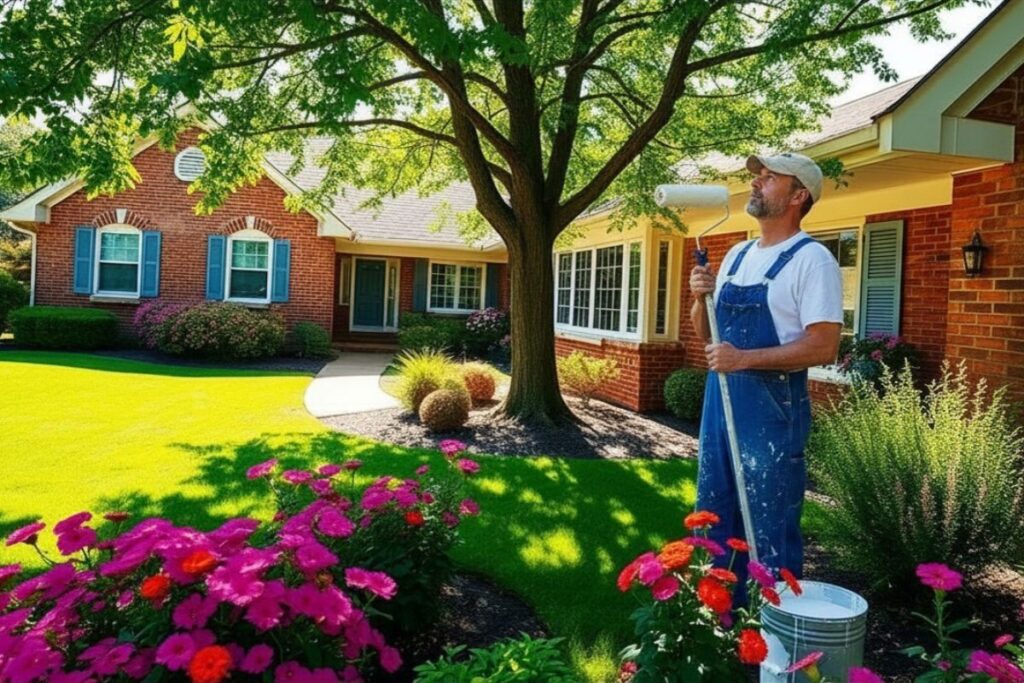
Fall is the last reliable window for exterior painting in the Pacific Northwest. Once the rains settle in — typically by late October or November across Portland, Vancouver, and Lake Oswego — surface moisture levels make it difficult to achieve the clean adhesion and cure time that exterior paint requires. By the time spring arrives, any surfaces left unprotected have spent months absorbing moisture, expanding, contracting, and inviting the kind of damage that costs significantly more to fix than a timely paint job would have.
This checklist walks through everything a Pacific Northwest homeowner should assess and address before winter arrives — from a full exterior inspection to surface prep, product selection, and timing. Whether you’re doing the work yourself or bringing in a professional crew, the sequence matters as much as the individual steps.
Why Fall Is the Critical Window in the Pacific Northwest
The Pacific Northwest’s painting season is shorter than most homeowners realize. Exterior paint requires dry surfaces, moderate temperatures, and enough time after application to cure fully before the first significant rain. Most quality exterior paints specify a minimum application temperature of around 50 degrees Fahrenheit and need at least 24 to 48 hours of dry conditions to set properly.
In Portland, Vancouver, and the surrounding areas, September and early October typically offer the most reliable conditions — daytime temperatures are still comfortable, rain events are less frequent than they’ll be in November, and the extended daylight hours of summer have mostly dried out any moisture that built up in wood and siding over winter.
The window narrows fast. A job that could be completed cleanly in early October may be problematic by mid-November. This is why scheduling matters as much as the work itself — waiting too long can push the project into conditions that compromise the result. For a full breakdown of how PNW weather affects exterior paint longevity, the post on how long exterior house paint lasts in the Pacific Northwest covers what the regional climate does to exterior surfaces over time.
Step 1: Full Exterior Inspection
Before any prep or painting begins, walk the full perimeter of your home and assess every surface that will be painted or that could affect the painted surfaces. This inspection is what determines the scope of work and prevents surprises mid-project.
Siding
Look for cracked, warped, or cupped boards. Check for areas where paint is peeling, blistering, or chalking — these are signs of moisture intrusion or adhesion failure that need to be addressed before repainting. On wood siding, probe soft spots with a screwdriver to check for rot. Any compromised wood needs to be replaced or repaired before paint goes on, because paint will not stop rot from progressing underneath it.
If your inspection reveals widespread siding issues — significant cracking, warping, or rot across multiple sections — it may be worth evaluating whether repair or replacement makes more sense before committing to a full repaint. The post on signs your home siding needs repair or replacement helps homeowners work through that decision before investing in a paint job on compromised material.
Trim and Fascia
Trim and fascia boards are often the first places moisture damage shows up because they sit at edges and joints where water can collect. Check all horizontal trim surfaces, window casings, door frames, and the fascia boards along the roofline. Soft wood, splitting paint, and visible gaps in caulk are all indicators that prep work is needed before winter.
Caulking and Sealants
Go around every window, door frame, corner board, and penetration point where siding meets another material. Failed caulk — cracked, shrunken, or pulling away from the surface — is a direct entry point for water. Recaulking these areas before winter is one of the highest-value maintenance steps you can take regardless of whether a full repaint is in the plan.
Gutters and Drainage
This step isn’t directly about paint, but it affects everything painted. Overflowing gutters direct water down siding surfaces repeatedly throughout the winter. Even the best exterior paint job will break down faster under constant water exposure. Clean gutters and confirm downspouts are directing water away from the foundation and siding before the rainy season begins.
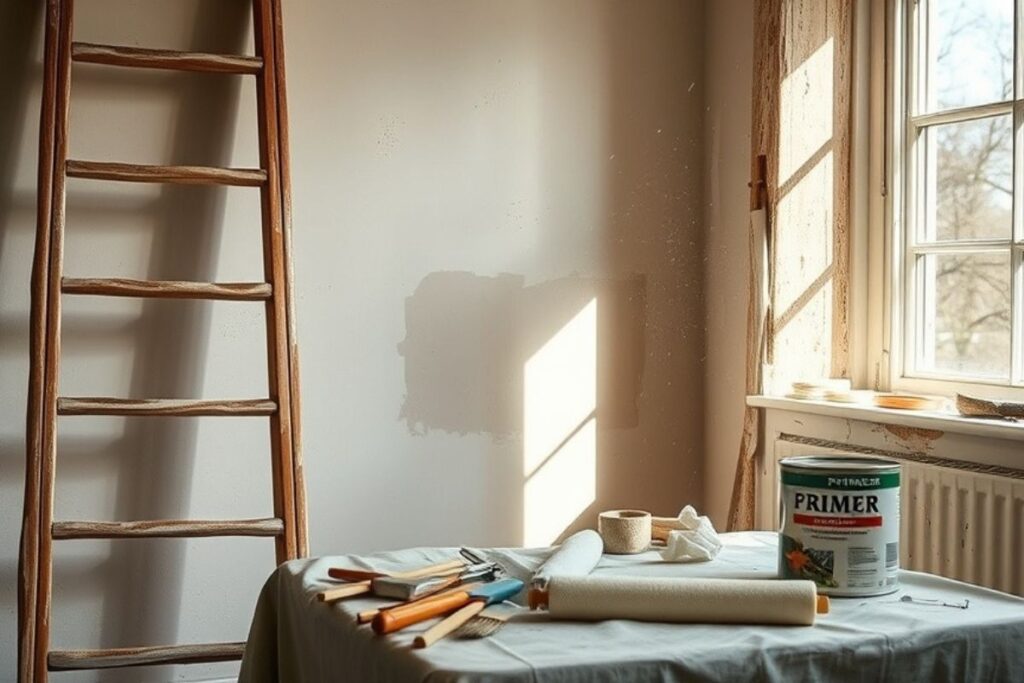
Step 2: Surface Preparation
Preparation is the single most important factor in how long an exterior paint job lasts. Paint applied over dirty, chalky, or inadequately primed surfaces will fail earlier regardless of product quality — and in the Pacific Northwest, where surfaces face sustained moisture exposure every winter, that failure comes faster than it would in drier climates.
Washing
Power washing or soft washing the entire exterior removes dirt, mildew, algae, and the chalky oxidation that builds up on older paint surfaces. In the Pacific Northwest, mildew and algae are particularly common on north-facing and shaded surfaces that stay damp longer. Paint applied over mildew will trap it and allow it to continue spreading underneath the new coat.
Washing should happen well before painting — ideally several days before — to allow surfaces to dry fully. Painting over surfaces that still hold moisture from washing is a common mistake that leads to adhesion failure and blistering.
Scraping and Sanding
Any peeling, flaking, or bubbling paint needs to be removed before new product goes on. Painting over failing paint doesn’t fix the underlying adhesion problem — it buries it temporarily and creates a thicker surface that’s more prone to cracking and peeling when the new layer eventually moves with temperature changes.
After scraping, sand the edges of scraped areas smooth so the transition between bare surface and existing paint is feathered rather than abrupt. Abrupt edges create ridges in the finished coat that are visible under raking light.
Priming
Bare wood exposed during scraping and repairs needs to be primed before topcoat application. Primer seals the wood, improves adhesion, and provides a consistent base that helps the topcoat color apply evenly. In the Pacific Northwest, a high-quality exterior primer with mold and mildew inhibitors is worth the additional investment — particularly on north-facing surfaces and areas prone to moisture accumulation.
Spot priming is adequate for small repairs, but if more than 25 to 30 percent of the surface has been scraped to bare wood, a full prime coat over the entire surface will produce better results than spot priming alone.
Step 3: Repairs Before You Paint
Paint is a protective coating, not a structural repair. Any wood rot, gaps, failing caulk, or physical damage to siding and trim needs to be addressed before the paint goes on — not covered over by it.
Wood filler or epoxy consolidants can stabilize and fill areas of minor surface rot or damage. For more significant rot, the affected boards need to be replaced. This is the step most homeowners are tempted to skip or defer, and it’s the one that most directly determines how long the paint job will last.
Fill all nail holes and gaps in siding with exterior-grade caulk or filler, then smooth and allow to dry completely before painting. On wood siding, countersink any raised nail heads and fill — raised nails create rust streaks through paint over time as they’re exposed to moisture.
Step 4: Product Selection for PNW Conditions
Not all exterior paints are equal in the Pacific Northwest context. The region’s extended wet season, temperature cycling, and humidity levels put exterior coatings through more stress than drier climates. Selecting a product formulated for these conditions directly affects how long the paint job holds up.
Premium 100 percent acrylic exterior paints — products like Sherwin-Williams Emerald Exterior or Benjamin Moore Aura Exterior — offer the best combination of flexibility, moisture resistance, and mold and mildew inhibition for Pacific Northwest applications. These products remain flexible through temperature changes, which prevents the cracking and peeling that occurs when paint becomes brittle in cold conditions.
Satin and low-sheen finishes are generally recommended for PNW exterior siding — they’re easier to clean than flat finishes and don’t show moisture and dirt accumulation as readily as high-gloss options. Semi-gloss is appropriate for trim, doors, and accent details where a harder, more washable surface is desirable.
Step 5: Timing the Application
Even with perfect preparation, timing the application window correctly makes a significant difference in the outcome. Exterior paint should be applied when surface temperatures are between 50 and 85 degrees Fahrenheit and when rain is not forecast for at least 24 to 48 hours after application. Morning dew and overnight condensation count — if surfaces will be wet before the paint has had time to cure, application should be delayed.
In the Portland and Vancouver metro area, the most reliable fall painting window runs from mid-September through mid-October. After that, the probability of rain events within any given 48-hour window increases significantly, and nighttime temperatures can begin dropping below the recommended application threshold on exposed surfaces.
This is why fall exterior painting projects should be scheduled as early as possible rather than pushed to the last moment. A project started in late September with a week of good weather in the forecast has far better conditions than one started in late October with a mixed forecast.
When to Call in a Professional Crew
Some fall exterior painting projects are straightforward enough for a confident DIYer with the right equipment and preparation knowledge. Others involve scope, access, or surface condition issues that benefit significantly from professional execution.
Two-story homes and any exterior surfaces that require ladder or scaffold work are meaningfully more efficient and safer with a professional crew that has the right equipment and training. Homes with significant rot, failing siding, or widespread adhesion issues are better handled by a team that can assess, repair, and paint in a coordinated sequence rather than trying to work through each step independently.
GB Painting has completed exterior painting projects across Portland, Vancouver, Lake Oswego, Gresham, and Camas since 2015. The team uses premium products, handles full surface prep and repairs, and works within the fall scheduling window that the Pacific Northwest climate requires. To get a fall estimate before the window closes, reach out through the contact page or browse completed exterior projects in the portfolio.
The full range of exterior painting services covers residential and commercial properties throughout the Pacific Northwest. If your home’s exterior is due for attention before winter, the fall window is the time to move — not spring, when you’ll be repairing the damage that a winter without protection caused.
GB Painting LLC provides professional exterior painting services across Portland OR, Vancouver WA, Lake Oswego, and the Pacific Northwest. Call (503) 863-1557 or request a free estimate before the fall window closes.