The kitchen is the center of every holiday gathering. It’s where guests drift whether you invite them or not, where the cooking and conversation overlap, and where the condition of the space is on display in a way it isn’t the rest of the year. For Portland and Vancouver homeowners who have been living with cabinets that feel tired, dated, or simply wrong for the kitchen they want, the weeks before the holidays are the most motivated window of the year to finally do something about it.
Cabinet painting is one of the highest-impact kitchen upgrades available without a full renovation — it changes the entire character of the space at a fraction of the cost of new cabinetry. But it’s also a project with a specific timeline that surprises many homeowners who assume it can be squeezed into a weekend before Thanksgiving. It can’t. Done properly, cabinet painting takes time at every phase, and rushing any of them produces results that fail faster and look worse than the cabinets you started with.
This guide lays out an honest, phase-by-phase timeline for professional cabinet painting — what each stage involves, how long it actually takes, and what that means for booking if the holidays are your deadline.
Why Cabinet Painting Takes Longer Than People Expect
Most homeowners who haven’t been through a professional cabinet painting project significantly underestimate how much of the timeline is governed by chemistry rather than crew size. Paint and primer need time to cure — not just dry to the touch, but fully harden to the point where doors can be reinstalled and handled without damaging the finish. Rushing this process is the single most common cause of cabinet painting failures: doors that stick, finishes that scratch at the lightest contact, and paint that peels from door edges within months.
The other time driver is prep. Cabinets are high-contact surfaces with complex geometry — multiple faces, edges, inside corners, and hardware holes — that require thorough cleaning, deglossing, and priming before any finish coat goes on. Grease from cooking embeds into cabinet surfaces over years and if it isn’t fully removed before painting, the finish will fail at the adhesion level regardless of how good the topcoat product is.
A professional cabinet painting crew doesn’t cut these phases short. The timeline below reflects what a quality job actually requires.
The Phase-by-Phase Cabinet Painting Timeline
Phase 1: Consultation and Scheduling — 1 to 2 Weeks Before Start
Before work begins, the project needs to be scoped, quoted, and scheduled. For cabinet painting projects in the Portland and Vancouver market, this means an in-person walkthrough to assess cabinet count, door style, surface condition, and the level of prep required. The quote is generated from this assessment, color selection happens, and a start date is confirmed.
During the pre-holiday season — typically October through late November — painting contractors are booking further out than at other times of year. Homeowners who want cabinets completed before Thanksgiving or Christmas need to initiate this conversation at least three to five weeks before their target completion date, not three to five days.
Phase 2: Prep Day — 1 Day
On the first day of the project, the crew removes all cabinet doors, drawer fronts, and hardware. Every piece is labeled so reinstallation is precise. The cabinet boxes — the frames that remain mounted to the wall — are cleaned, deglossed, and masked. Countertops, appliances, floors, and any adjacent surfaces that aren’t being painted are fully protected.
This phase takes a full day for a standard kitchen with 30 to 40 cabinet doors. Larger kitchens or kitchens with complex configurations take longer. Skipping or shortening prep day is how finishes fail — it’s not a phase that can be compressed without consequence.
Phase 3: Priming — 1 Day Plus Cure Time
All surfaces — cabinet boxes and removed doors and drawer fronts — receive a full primer coat. For previously painted cabinets, a bonding primer ensures adhesion over the existing finish. For bare wood or laminate surfaces, a shellac-based or high-adhesion primer is used depending on the substrate.
After priming, cure time is non-negotiable. Most professional cabinet primers require a minimum of 24 hours before sanding and topcoat application — and in the cooler fall temperatures common in Portland and Vancouver, that cure window can extend to 36 or 48 hours. Any topcoat applied over primer that hasn’t fully cured risks adhesion failure at the interface between layers.
Phase 4: Sanding and Inspection — Half Day
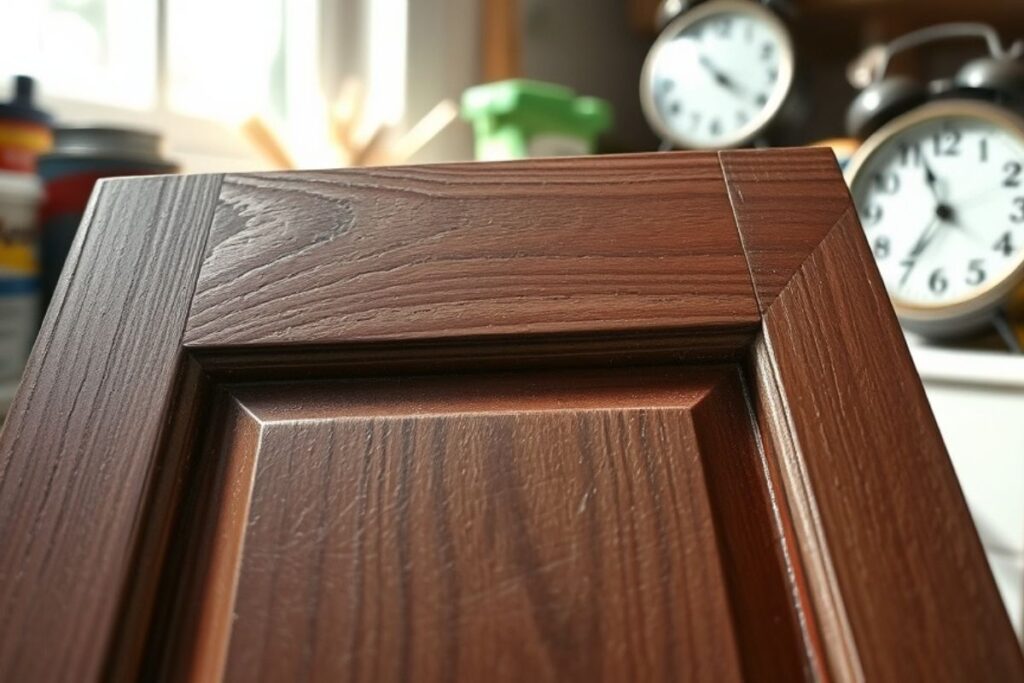
Once primer is cured, all surfaces are lightly sanded to smooth any raised grain, brush marks, or texture irregularities. This step is what separates a furniture-quality cabinet finish from a paint-on-cabinets result. The sanding is fine — typically 220 grit — and followed by a thorough wipe-down to remove all dust before topcoat application.
This is also the phase where any surface imperfections that weren’t visible before priming become apparent. Small repairs can be addressed at this stage before the finish coats go on.
Phase 5: First Topcoat — 1 Day Plus Cure Time
The first finish coat is applied to all surfaces. Professional cabinet painters typically spray cabinet doors and drawer fronts for a smooth, factory-like finish that brushing and rolling can’t replicate, while cabinet boxes are often brushed and rolled due to their fixed installation. The spray process requires careful masking of the surrounding kitchen environment to prevent overspray on countertops, appliances, and flooring.
After the first topcoat, cure time again determines the pace. Most quality cabinet paints — products like Benjamin Moore Advance, Sherwin-Williams Emerald Urethane, or similar cabinet-specific finishes — specify a minimum recoat window of 16 to 24 hours. In fall temperatures, that minimum should be respected fully.
Phase 6: Light Sand and Second Topcoat — 1 Day Plus Cure Time
A light scuff sand between coats improves adhesion and smooths any minor imperfections from the first coat. The second finish coat is then applied, completing the paint application phase. Two coats of a quality finish product over properly primed surfaces is the standard for a durable, professional cabinet paint job.
After the second topcoat, the most critical cure window begins. Cabinet doors should not be reinstalled until the finish has cured to a hardness that can withstand door operation without the contact edges sticking or marring. For most professional cabinet paints, this means a minimum of 24 to 48 hours after the final coat — and some products specify 72 hours for full handling strength. In a cool Portland kitchen in November, erring toward the longer end of the cure window is the right call.
Phase 7: Reinstallation and Touch-Up — Half to Full Day
Once cure time is complete, doors and drawer fronts are reinstalled using the labeling system from Phase 2. Hardware is reattached — or new hardware installed if a switch was planned as part of the project. A final inspection identifies any areas requiring touch-up, which are addressed before the crew leaves.
The kitchen is fully functional again at the end of this phase, though it’s worth treating cabinet surfaces gently for the first week or two as the finish continues to harden to full cure strength.
Complete Timeline at a Glance
| Phase | Duration | Key Requirement |
| Consultation and Scheduling | 1–2 weeks before start | Book early — holiday season fills fast |
| Prep Day | 1 full day | Door removal, cleaning, masking |
| Priming | 1 day + 24–48 hr cure | Full cure before sanding |
| Sanding and Inspection | Half day | 220 grit, dust removal |
| First Topcoat | 1 day + 16–24 hr cure | Full recoat window |
| Second Topcoat | 1 day + 24–72 hr cure | Full cure before reinstall |
| Reinstallation and Touch-Up | Half to full day | Final inspection and hardware |
Total active project time for a standard kitchen: 4 to 5 working days spread across 7 to 10 calendar days, accounting for cure windows between phases. Add scheduling lead time and the realistic minimum from initial contact to completed cabinets is three to four weeks.
What This Means for Holiday Deadlines
Working backward from common holiday targets in the Portland and Vancouver area gives a clear picture of when to start the process.
For cabinets completed before Thanksgiving, the consultation and booking conversation needs to happen by late October at the latest — and earlier is better given how quickly fall painting schedules fill. Project start by the first week of November allows comfortable completion with buffer time before the holiday.
For cabinets completed before Christmas, early to mid-November is the booking window. A project started in the third week of November can realistically complete before mid-December, leaving adequate buffer before the holiday season hits full stride.
Homeowners who reach out in the week before Thanksgiving hoping to have cabinets done by Christmas are working within a tight window that depends on immediate availability — which is rarely the reality during the busiest scheduling period of the year. The earlier the conversation starts, the more scheduling flexibility exists.
Kitchen Access During the Project
One practical consideration that affects holiday timing is kitchen access. During the cabinet painting project, doors and drawer fronts are removed and off-site or in a staging area. The kitchen is functional — countertops, appliances, and plumbing are fully accessible — but it operates without cabinet doors for the duration of the project.
For most households, a week of open cabinet boxes is manageable. Planning around a major cooking event like Thanksgiving or a large holiday gathering is worth factoring into the scheduling conversation. A project that completes two weeks before a large gathering is more comfortable than one that wraps up two days before.
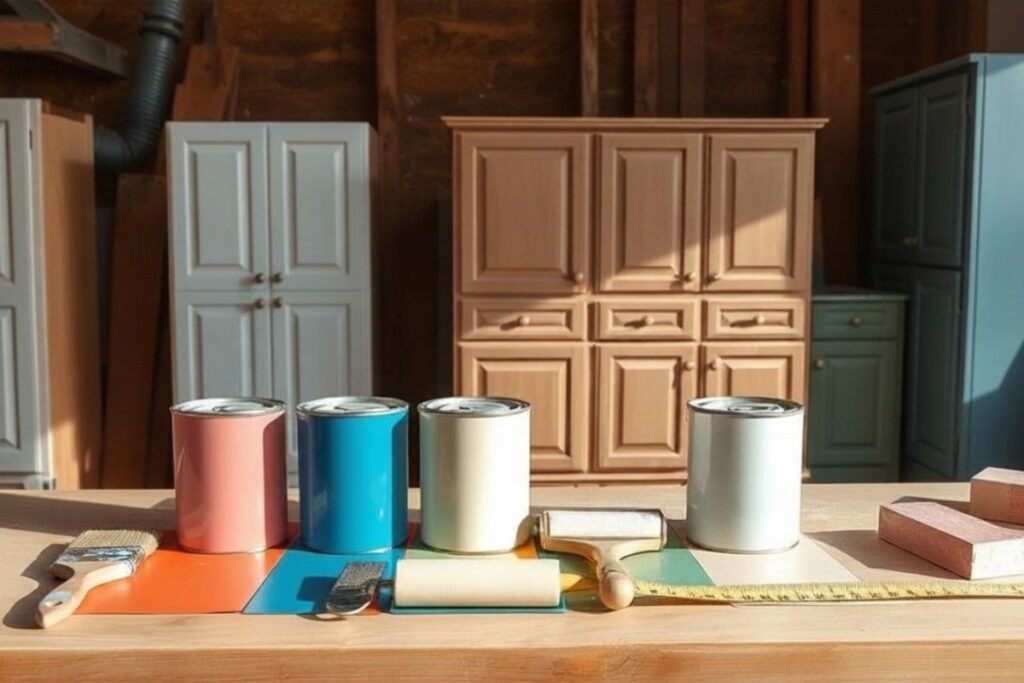
Choosing the Right Finish for Long-Term Durability
The holiday deadline creates natural pressure to move quickly, but finish selection deserves as much attention as timing. Cabinets are among the highest-use painted surfaces in any home — they’re opened and closed dozens of times daily, cleaned frequently, and exposed to steam and grease in a way that walls are not. The paint product used needs to be formulated for that environment.
Products like Benjamin Moore Advance, Sherwin-Williams Emerald Urethane Trim Enamel, and similar alkyd-hybrid or urethane-modified cabinet paints are the professional standard for a reason. They cure to a harder finish than standard wall paint, are more resistant to chipping at door edges, and clean up without losing sheen. The post on how to pick the perfect cabinet paint color for your kitchen covers finish and color selection in detail — both decisions that are worth making thoughtfully before the project starts rather than under time pressure.
Getting on the Schedule Before the Window Closes
GB Painting handles cabinet painting projects across Portland, Vancouver, Lake Oswego, and Gresham, and the fall pre-holiday period is consistently the busiest scheduling window of the year. Homeowners who want their kitchen ready for the holidays need to start the conversation now — not in three weeks. Reach out through the contact page to schedule a free walkthrough and estimate, and lock in a start date before the available slots fill.
Browse completed cabinet projects and other kitchen transformations in the portfolio, or explore the full range of interior painting services available alongside cabinet work for Portland and Vancouver area homes.
GB Painting LLC provides professional cabinet painting services across Portland OR, Vancouver WA, and the Pacific Northwest. Call (503) 863-1557 or request a free estimate before the holiday schedule fills.